How to Roll a Cross Joint: Step-by-Step Guide for Beginners
By lindsey
Quick Answer: A cross joint is made by rolling one large joint and one smaller joint, poking a perpendicular hole through the fat joint about three-quarters up from the mouthpiece, inserting the smaller joint through it, piercing a small airflow hole through the crosspiece inside the main joint, then sealing the intersection with rolling paper glue strips. Light all three ends simultaneously for a smooth, even burn.
Rolling a cross joint is one of the most iconic moves in cannabis culture, the kind of technique that stops a session cold and turns heads. Made famous by the 2008 stoner classic Pineapple Express, where James Franco’s character called it “the apex of the vortex of joint engineering,” the cross joint has stayed a bucket-list roll for anyone serious about their flower. It burns from three ends at once, delivers dense, layered hits, and doubles as a conversation piece from the moment you start rolling.
That said, the cross joint is not a beginner’s first roll. It asks for patience, a steady hand, and quality flower that grinds consistently. If you have rolled a standard joint before and want to step up your craft, this guide walks you through every stage, from choosing the right materials to lighting all three tips cleanly. For the best cross joint experience, start with premium THCa flower, because structure, moisture content, and grind all affect whether the final product burns evenly or falls apart.
Key Takeaways
- A cross joint uses two joints: one fat base joint and one slimmer crosspiece inserted perpendicularly about three-quarters up from the mouthpiece.
- Airflow is the make-or-break factor; the crosspiece needs a small hole drilled through its center so smoke can travel through all three channels.
- The intersection must be sealed with rolling paper glue strips on both sides to prevent air leaks and uneven burns.
- Grind consistency matters more than quantity; a medium-fine grind with no stems fills both joints evenly and reduces clogging at the intersection.
- All three ends need to be lit at the same time, making a cross joint a genuinely social smoke that often calls for two friends and three lighters.
- High-quality THCa flower from Mellow Fellow converts cleanly to THC under heat, delivering potent, flavorful hits that hold up through a longer, multi-end burn.
What Is a Cross Joint?
A cross joint is two joints assembled into a cross shape. One large, fat joint acts as the base and mouthpiece. A thinner, shorter joint is inserted horizontally through the center of the fat joint, creating a perpendicular arm on each side. When all three ends are lit together, smoke travels through both arms of the cross and down into the main joint, converging into a single dense pull at the mouthpiece.
The design first appeared in print in 1994 in The Joint Rolling Handbook, where it was listed under the name “The Crossroads.” It stayed a niche party trick until August 6, 2008, when Pineapple Express brought it to mainstream audiences. Seth Rogen, who co-wrote and starred in the film, later confirmed in a Wired Autocomplete interview that he did not invent the cross joint but played a real role in popularizing it. He and co-writer Evan Goldberg personally rolled approximately 100 cross joints for filming because no one else on the crew could do it properly.
The cross joint is more than a novelty. Three burning ends produce thicker, denser smoke than a single joint. The experience scales well for group sessions, and rolling one successfully marks a genuine jump in rolling skill. If you want to deepen the craft further, check out our guides on how to roll a perfect joint and how to roll a blunt before attempting the cross.
What You Need to Roll a Cross Joint
Before touching any paper, gather everything in one place. Fumbling for a needle mid-roll causes mistakes.
|
Supply |
Purpose |
Notes |
|
1.5 to 2 g of ground flower |
Fill both joints |
Medium-fine grind, no stems |
|
King-size rolling papers (2) |
Main base joint |
Wider papers make a sturdier base |
|
Regular or 1.25-size rolling papers (1 to 2) |
Thin crosspiece joint |
Smaller diameter fits through the hole cleanly |
|
Extra rolling paper (2) |
Sealing the intersection |
Use glue strips only |
|
Needle, pin, or thin skewer |
Poking airflow holes |
Metal tip gives the cleanest bore |
|
Filter or crutch (optional but recommended) |
Mouthpiece stability |
Adds structure to prevent the base from collapsing |
|
Grinder |
Even, consistent grind |
Coarse grind burns unevenly; powder clogs the crosspiece |
|
Rolling tray |
Catch spillage during assembly |
Especially useful when inserting the crosspiece |
|
Scissors |
Trim glue strips |
Sharp scissors prevent paper tears |
A note on flower choice: the quality of what you roll directly affects the result. Dense, well-cured THCa flower with a consistent moisture level stays packed under the structural stress of piercing and insertion. Dry, crumbly flower falls apart. Stems and seeds create lumps that block the hole you drill. Start with the best material available.
How to Roll a Cross Joint: Step-by-Step Instructions
Rolling a cross joint takes a little patience, but the process is mostly about building three clean airflow paths and sealing the intersection properly.
Step 1: Grind Your Flower
Grind 1.5 to 2 grams of flower to a medium-fine consistency. You want something that holds together lightly under compression but does not pack as tightly as powder. Too coarse and the joint burns unevenly; too fine and the hole you drill through the crosspiece clogs with plant material.
Split your ground flower roughly 60/40. The larger portion goes into the fat base joint; the smaller portion fills the crosspiece. Set them aside on your rolling tray.
Step 2: Roll the Fat Base Joint
Roll the larger, fatter joint using king-size papers. This is the structural core of the cross, so make it denser and thicker than a standard roll. Think closer to blunt thickness than a typical joint. Leave a small empty twist at the tip (the lighting end) so you have something to spark later.
If you use a filter or crutch, place it at the mouthpiece end. A crutch gives the fat joint a firm base that will not collapse when you insert the crosspiece later. This tip, popularized partly by Seth Rogen himself, adds structural integrity and makes smoking more comfortable once the cross is assembled. Do not seal the tip yet; keep the twist for lighting.
Step 3: Roll the Thin Crosspiece Joint
Roll a shorter, slimmer joint using a smaller paper. This joint should be narrower in diameter than the hole you plan to drill through the fat joint. Leave open twists at both ends rather than sealing them; both tips of the crosspiece will be lit. Do not add a filter here.
Roll it as evenly and firmly as you can. Lumpy spots in the crosspiece create uneven burning once it is inserted. A flat, consistent cylinder passes through the fat joint smoothly without tearing the paper on either side.
Step 4: Pierce the Fat Joint
Take your needle or pin and locate the piercing point on the fat joint. Place it about three-quarters of the way up from the mouthpiece end, not dead center. Positioning toward the top of the joint gives you more smoking time before the intersection burns into the cherry on the main joint.
Push the needle through slowly, rotating gently as you go. The goal is a clean bore that passes through both walls of the fat joint. Once through, widen the hole slightly by rotating the needle, but keep it slightly smaller than the diameter of the crosspiece. A snug fit creates a better seal than a loose one.
Hold the joint up to light. You should be able to see straight through from one side to the other. If the hole is offset or angled, it will cause one arm of the cross to burn faster than the other.
Step 5: Pierce the Crosspiece for Airflow
This is the step most beginners forget, and it is the main reason cross joints fail to draw properly. Find the midpoint of the crosspiece, the exact center of its length, and use the needle to drill a small hole straight through it side to side. This hole sits inside the fat joint once assembled and allows smoke from both arms to travel down into the main joint and reach your mouth.
Without this hole, the crosspiece burns at both ends but creates no draw. Smoke hits a wall inside the fat joint and has nowhere to go.
Keep the hole small, just large enough for clean airflow. Oversized holes weaken the structure of the crosspiece and can cause it to crumple under the pressure of insertion.
Step 6: Insert the Crosspiece
Working over your rolling tray to catch any flower that falls out, insert one twisted end of the crosspiece into the hole in the fat joint. Push it through slowly, rotating the crosspiece gently to reduce friction and avoid tearing. You know you have inserted it far enough when the small airflow hole you drilled in the center of the crosspiece is fully inside the fat joint, not sitting at the edge.
Adjust until both arms of the cross stick out at equal lengths and are perpendicular to the fat joint. Even arms burn more evenly. Asymmetry causes one side to race ahead of the other.
Step 7: Seal the Intersection
The intersection is where air leaks happen. Any gap at the point where the two joints meet will kill your draw and cause the cross to burn unevenly.
Take two rolling papers and cut or tear off just the glue strips. Wet each strip thoroughly. Wrap them diagonally around the intersection in an X pattern, one over each side of the joint, pressing them firmly against the paper on both sides. The goal is to cover every gap where the crosspiece passes through the fat joint.
Let the seal dry for 60 seconds before the next step.
Step 8: Test the Draw
Before you light anything, put the mouthpiece to your lips and take a slow, steady test pull. You should feel even, smooth resistance from all three openings. If the draw feels blocked, use the needle to gently clear the airflow hole inside the crosspiece. If it feels completely sealed and airtight, check whether the glue strips have covered the airflow hole accidentally.
A slightly firm draw is normal and will open up as the joints start to burn. A completely blocked draw means something needs adjustment before you light it.
Step 9: Light All Three Ends
This is where the cross joint becomes a social experience. Lighting all three ends simultaneously requires coordination. Recruit two friends, each with a lighter, and have everyone spark at the same time on your count. The tip of the fat joint and both twisted ends of the crosspiece all need to catch together.
If you are alone, light the fat joint tip first using a candle or leaving a long twist that burns slowly, then move quickly to light both arms before the main cherry gets too far ahead.
Once all three ends are lit and glowing, take slow, steady draws. Pull too hard and one side races. Even, measured hits give the smoke time to converge at the intersection and travel cleanly down to your mouth.
Pacing matters here. A cross joint holds considerably more flower than a standard roll, and the combined smoke from three burning ends is substantially denser. Start slow, especially if you are new to this format.
Best THCa Flower for Rolling a Cross Joint
The flower you choose makes or breaks the structural integrity and smoking quality of a cross joint. THCa flower converts to THC upon combustion through decarboxylation, a chemical reaction studied extensively in published research including a PMC-indexed decarboxylation study from the National Institutes of Health. Studies suggest smoking can convert a high percentage of available THCa into active THC, meaning well-grown, properly cured THCa flower delivers a full, potent experience.
Mellow Fellow’s exotic THCa flower collection and THCa exotic flower jars are cultivated and cured to the specifications that matter most for hand-rolling: consistent moisture content, dense flower structure, minimal stems, and lab-tested cannabinoid levels.
Mellow Fellow THCa Flower Picks for Cross Joints
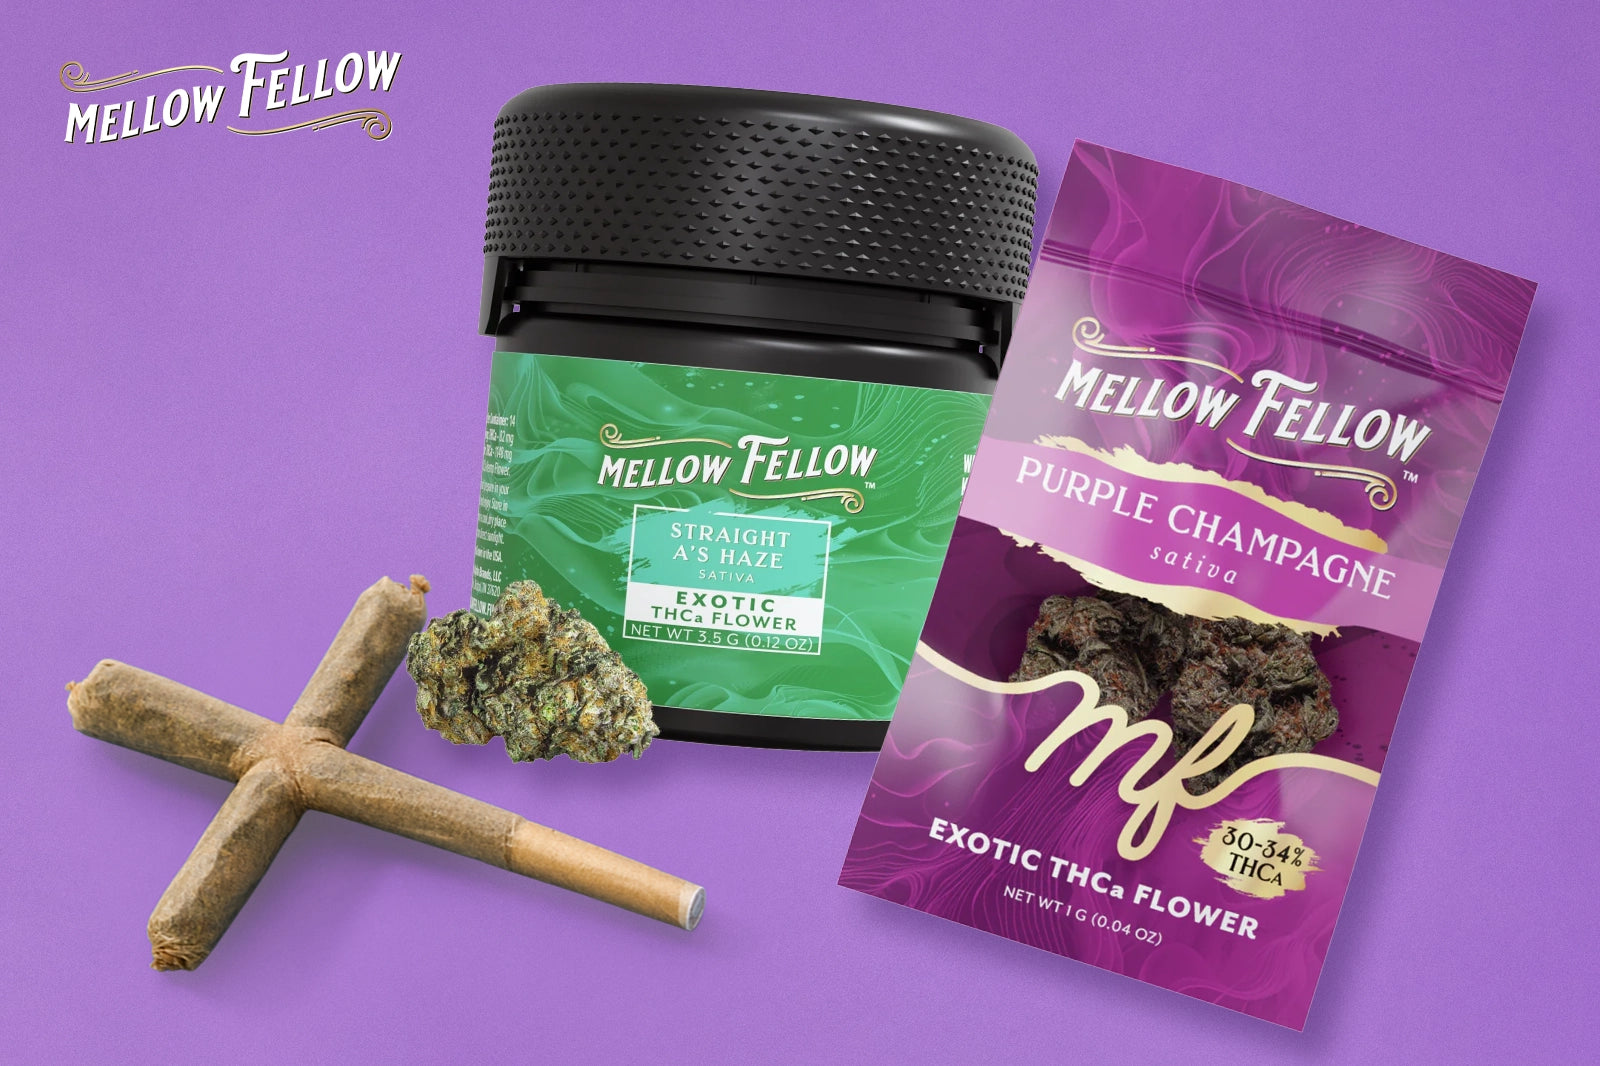
- Purple Champagne (Sativa) 1g Sachet: A cross of Pink Champagne and Granddaddy Purple, Purple Champagne brings bright, uplifting effects with a fruity terpene profile. The sativa character keeps the session social and engaged, fitting for the communal nature of lighting a cross joint with friends. Grab a Purple Champagne 1g sachet for a single cross joint session.
- Banana Sundae (Sativa) 1g Sachet: Sweet, creamy terpene notes with an energizing sativa profile. Banana Sundae rolls cleanly due to its consistently dense bud structure, making it a reliable choice when you need flower that holds its shape during the piercing and insertion steps. Try a Banana Sundae 1g sachet for daytime cross joint sessions.
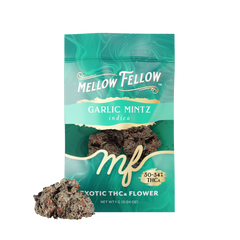
- Garlic Mintz (Indica) 1g Sachet: A pungent, earthy indica for those who want a heavier, more relaxing cross joint experience. Garlic Mintz has a robust, resinous flower structure that packs firmly and burns slowly, ideal for the extended multi-end burn of a cross joint. The Garlic Mintz 1g sachet suits evening sessions.
- THCa Flower Sampler 6-Pack: Not sure which strain suits the moment? The THCa flower sampler 6-pack gives you six 1g sachets to experiment across different strains and find what rolls best for your style. A smart starting point before committing to a larger jar.
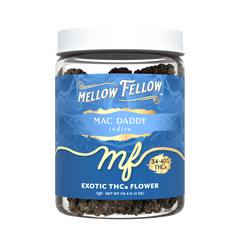
- Mac Daddy (Indica) 1oz Jar: When you are rolling cross joints regularly or hosting a group session, the Mac Daddy 1oz jar keeps you stocked. This heavy-hitting indica delivers deep calm with full-body effects. A 1oz supply handles multiple cross joints without running low mid-session.
- Z-Pie (Sativa) 1oz Jar: A sativa-dominant jar option for those who roll frequently and prefer a more cerebral, uplifting experience. The Z-Pie 1oz jar keeps quality flower on hand across multiple sessions. Consistent terpene profiles make it predictable and pleasant for group smoking.
- Straight A’s Haze (Sativa) 3.5g Jar: Haze-forward sativas tend to have a slightly looser flower structure that grinds to an ideal medium texture for rolling. The Straight A’s Haze 3.5g jar is a focused, clear-headed option well-suited to daytime cross joint sessions.
- Deep Ztate (Hybrid) 3.5g Jar: A balanced hybrid that splits the difference between body and mind. The Deep Ztate 3.5g jar works well for all-purpose cross joint rolling and suits mixed groups where not everyone wants a heavy indica or a stimulating sativa.
All Mellow Fellow THCa flower products are third-party tested with lab results available at the Mellow Fellow testing page.
Shop live resin and disposable options if you prefer a no-roll format: browse all disposable vapes.
Common Cross Joint Mistakes and How to Fix Them
Even experienced rollers run into problems with cross joints. These are the most common issues and their direct fixes.
|
Problem |
Likely Cause |
Fix |
|
No draw at all |
Airflow hole in crosspiece is blocked or missing |
Use a needle to clear the hole; confirm it sits inside the fat joint |
|
One arm burns faster |
Crosspiece inserted off-center; arms unequal in length |
Re-center before sealing; trim one arm to match the other |
|
Intersection falls apart |
Glue strips dried before sealing or applied too thin |
Re-wet fresh strips and wrap both sides of the intersection |
|
Cross joint tastes harsh |
Paper buildup at seal; too many glue layers |
Use minimal strips; one X-pattern wrap on each side is enough |
|
Joint collapses at intersection |
Fat joint rolled too loosely; wall paper too thin |
Roll a denser, firmer base joint; use king-size papers for extra structure |
|
Cross burns unevenly overall |
Grind was inconsistent; lumps in one arm |
Re-grind to medium-fine; check for stems before rolling |
The most important troubleshooting move is always the dry pull test before lighting. A single test pull tells you whether the airflow is clear and the seal is tight. Fix problems before all three ends are burning, not after.
For additional technique tips on related rolls, our hash hole rolling guide covers inserting a solid concentrate core into a joint, a skill that shares precision requirements with cross joint assembly.
Cross Joint vs. Regular Joint
A cross joint and a standard roll share the same core steps but differ significantly in complexity, material requirements, and smoking experience.
- Complexity: A standard joint takes 2 to 5 minutes for a practiced roller. A cross joint takes 15 to 30 minutes, including the sealing and drying time. First attempts will take longer.
- Flower Required: A standard joint uses 0.5 to 1 g. A cross joint uses 1.5 to 2 g across both rolls.
- Burning Ends: Standard joint burns from one tip. Cross joint burns from three ends simultaneously.
- Smoke Density: The converging smoke from three channels produces a noticeably thicker, denser pull than a single joint.
- Social Dimension: A standard joint passes easily between people. A cross joint requires group coordination to light and often becomes the focal point of a session.
- Skill Required: Rolling a standard joint is an accessible beginner skill. A cross joint demands intermediate technique and patience.
If you want to build the intermediate rolling skills needed for a cross joint, our infused pre-roll smoking guide covers handling larger, more complex joints, which translates directly to managing the extra bulk and burn time of a cross.
A Brief History of the Cross Joint
The cross joint predates Pineapple Express by more than a decade. Its first documented appearance in print was in The Joint Rolling Handbook (1994), listed there under the name “The Crossroads.” For roughly 14 years, it stayed a niche skill known mainly to dedicated rollers who traded technique books.
Pineapple Express changed everything when it released on August 6, 2008. Franco’s character describes the cross joint as “the future,” sparking genuine demand from viewers who had never seen the format before.
Seth Rogen has since clarified repeatedly, including in a Wired Autocomplete interview, that he did not invent the cross joint. He and Evan Goldberg learned it from a book of novelty joints given to them in high school, where it functioned as a party trick. On set for Pineapple Express, Rogen and Goldberg rolled approximately 100 cross joints themselves because no one else on the production crew could replicate the technique.
The film’s cultural reach was significant enough to make the cross joint a staple of modern cannabis culture, covered extensively in cannabis media and referenced in discussions about rolling skill from Leafly to rolling communities worldwide. It remains one of the most photographed joints in existence, partly because of its visual symmetry and partly because of the skill it signals.
Conclusion: Roll One Worth Lighting
A cross joint is worth learning. It takes more setup than a standard roll, asks for quality materials, and requires patience during the sealing and airflow steps. When it comes together, the result is a structurally sound, visually distinctive joint that burns evenly from three ends and delivers a genuinely different smoking experience from anything in a normal rotation.
The difference between a cross joint that pulls cleanly and one that collapses at the intersection comes down to two things: the quality of the flower and the precision of the airflow hole. Use well-cured, consistently ground THCa flower, take your time with the needle, seal the intersection fully, and test the draw before lighting.
Browse Mellow Fellow’s exotic THCa flower sachets and THCa flower jars to find the right strain for your next cross joint session. Every product is batch-tested and lab-verified through our testing page.
Sources
- Acidic Cannabinoid Decarboxylation – PMC
- Seth Rogen Didn’t Invent the ‘Pineapple Express’ Cross Joint; the Idea Came From a Book